Ingredients: Frosting Powder: Potassium Persulfate , Sodium Metasilicate , Sodium Stearate , Sucrose , Sodium Persulfate , Hydroxyethylcellulose , Sodium Chloride , Sodium Silicate , Silica , Hydrated Silica , EDTA , Sodium Lauryl Sulfate , Ultramarines (CI 77007) , Cream Developer: Aqua (Water) , Hydrogen Peroxide , Cetearyl Alcohol , Paraffinum Liquidum (Mineral Oil) , Cyclopentasiloxane , Trimethylsiloxysilicate , Amodimethicone , C11-15 Pareth-7 , Laureth-9 , Trideceth-12 , Glycerin , Ceteareth-20 , Steareth-10 Allyl Ether , Acrylates Copolymer , Disodium Phosphate , Phosphoric Acid , EDTA , Methylparaben , After Highlighting Shampoo: Aqua (Water) , Ammonium Lauryl Sulfate , Sodium Laureth Sulfate , Lauramide MEA , Methoxypropylgluconamide , Hydrolyzed Silk , Panthenol , Tocopheryl Acetate , Retinyl Palmitate , PEG-12 Dimethicone , Cocamidopropyl Betaine , Sodium C14-17 Alkyl SEC Sulfonate , Stearamine Oxide , Hydroxypropyl Methylcellulose , PEG-23M , Propylene Glycol , Sodium Chloride , Citric Acid , Tetrasodium EDTA , Methylparaben , Propylparaben , Methylchloroisothiazolinone , Methylisothiazolinone , Parfum (Fragrance) , Butylphenyl Methylpropional , Hydroxyisohexyl 3-Cyclohexene Carboxaldehyde , Benzyl Benzoate , Citronellol , Hexyl Cinnamal , Limonene , Amyl Cinnamal , Yellow 5 (CI 19140) , Red 4 (CI 14700) , Red 33 (CI 17200) , Yellow 6 (CI 15985) , After Highlighting Conditioner: Aqua (Water) , Cetearyl Alcohol , Behentrimonium Chloride , Linoleamidopropyl Dimethylamine Dimer Dilinoleate , Stearyl Alcohol , Cetyl Alcohol , Panthenol , Panthenyl Ethyl Ether , Cocamidopropyl Betaine , Stearamidopropyl Dimethylamine , Amodimethicone , Diisostearoyl Trimethylolpropane Siloxy Silicate , Isostearyl Glycolate , Triisostearyl Citrate , Diisostearyl Malate , Isostearyl Lactate , Dimethicone PEG-8 Meadowfoamate , Methoxypropylgluconamide , Ceteareth-20 , Hydroxyethylcellulose , Trideceth-12 , Cetrimonium Chloride , Parfum (Fragrance) , Isopropyl Alcohol , Butylphenyl Methylpropional , Hydroxyisohexyl 3-Cyclohexene Carboxaldehyde , Benzyl Benzoate , Citronellol , Amyl Cinnamal , Citric Acid , Methylparaben , Propylparaben , Methylchloroisothiazolinone , Methylisothiazolinone
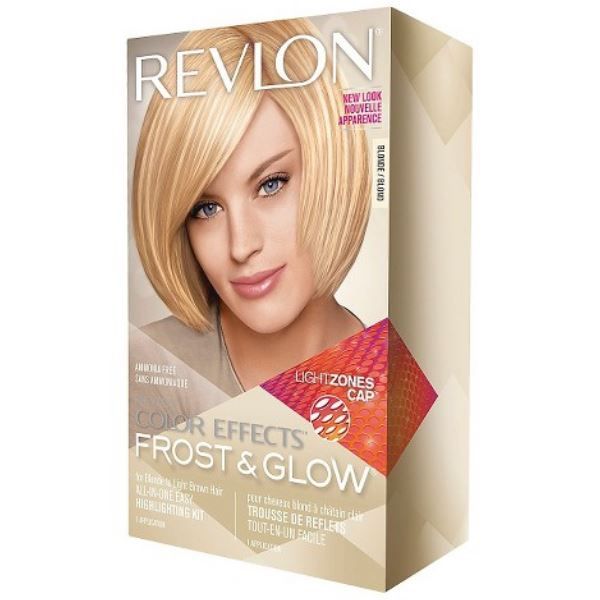
Where to buy Color Effects Frost & Glow All In One Easy Highlighting Kit in the USA?
If you can’t find where to buy Color Effects Frost & Glow All In One Easy Highlighting Kit near you, we can easily help you find a place where you can quickly and cheaply buy.
You can click on “check price” button and find out where to buy to buy Color Effects Frost & Glow All In One Easy Highlighting Kit.
How to find the best price on Color Effects Frost & Glow All In One Easy Highlighting Kit?
We are always ready to offer you recommendations on where to buy Color Effects Frost & Glow All In One Easy Highlighting Kit at one of the best price on Internet.
Please, feel free to follow the “check price” button to find price we chose for Color Effects Frost & Glow All In One Easy Highlighting Kit .

thriftyLlama5
Revlon Frost & Glow, oh how I love thee.
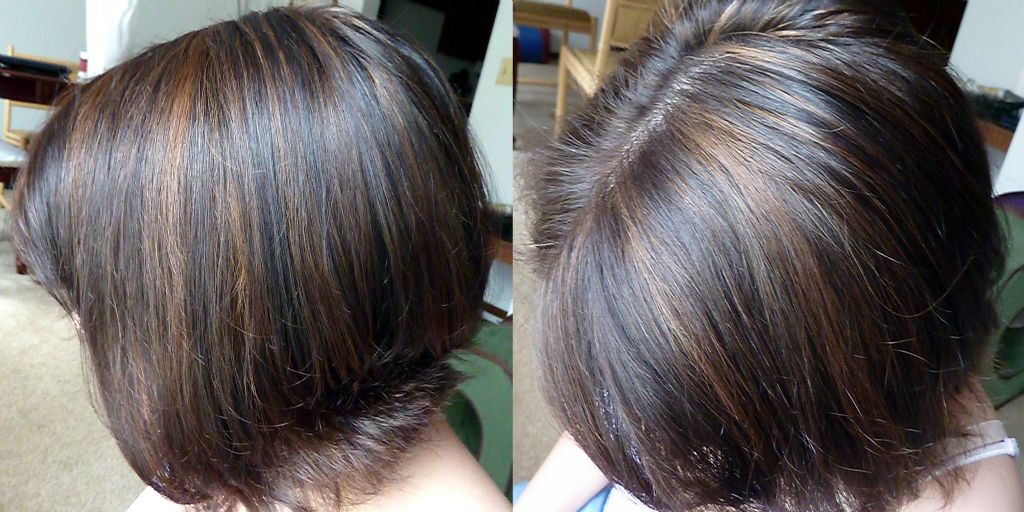
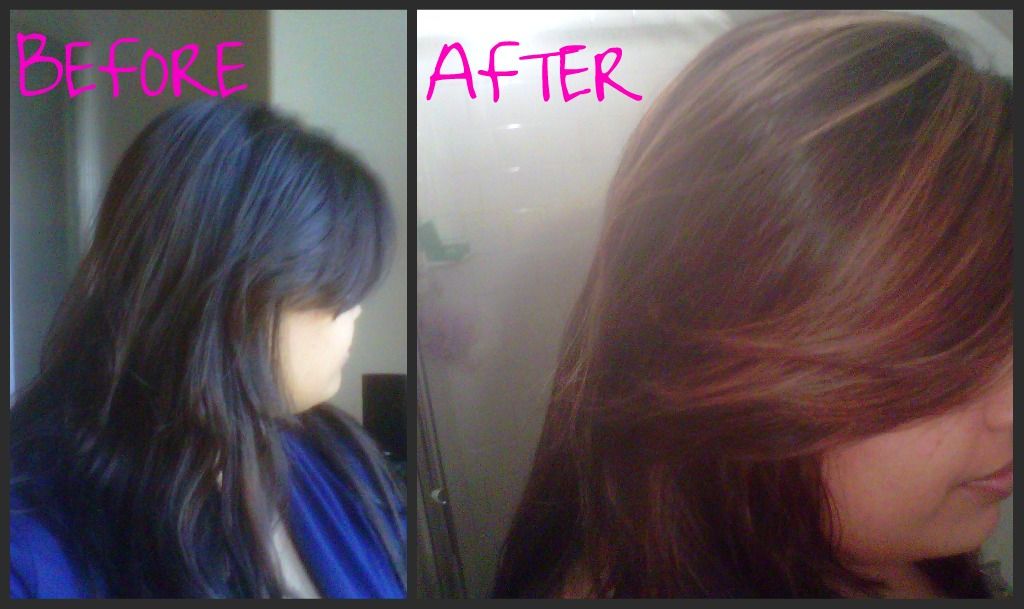
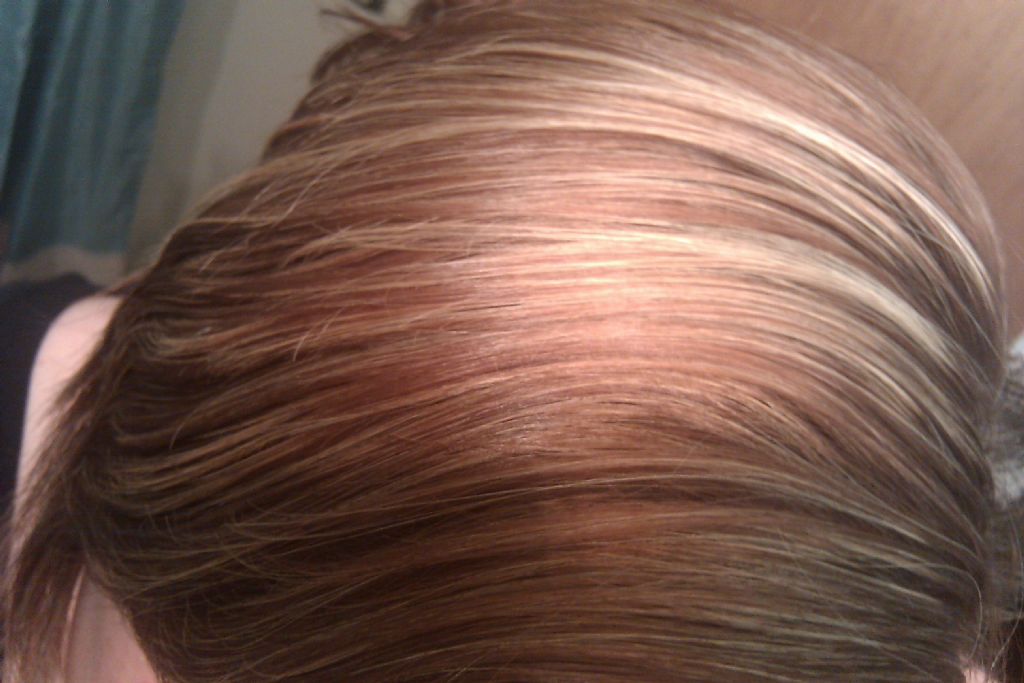
This is an underrated drug store gem that I’ve used for ages and am never disappointed, especially compared to professional highlights.
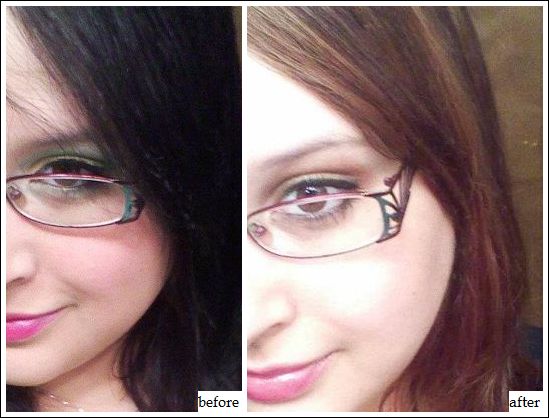
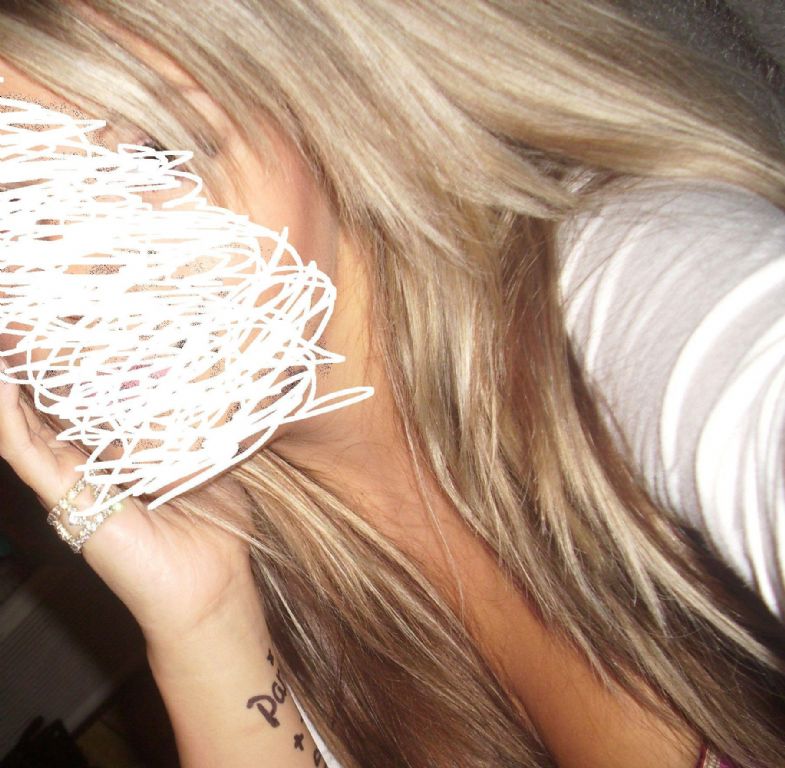
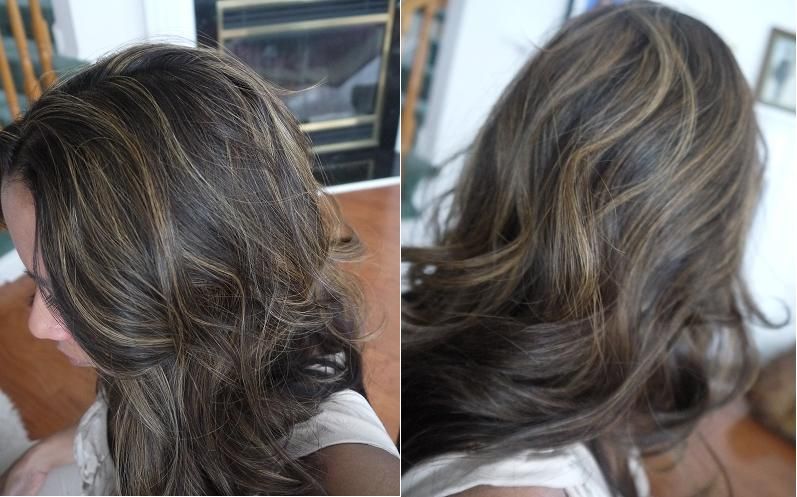
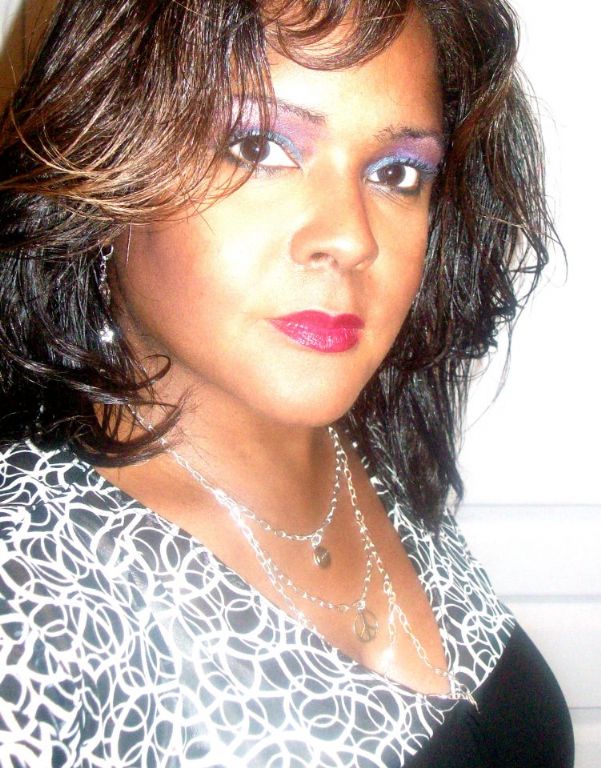
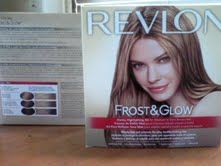
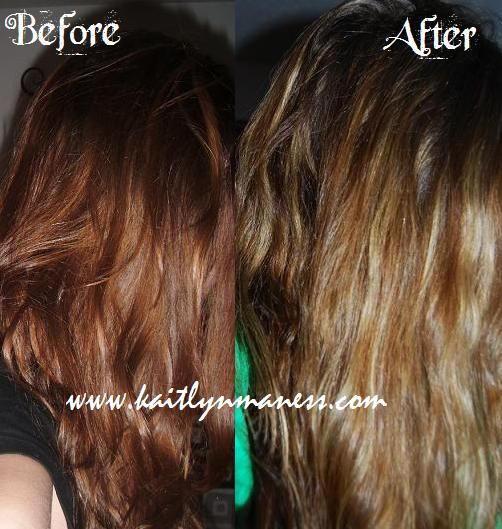
I use Honey for my very dark brown hair and it’s the perfect subtle golden brown. The picture on the box is very deceiving, as you can make it as drastic or subtle as you like and my hair does NOT look like the model’s streaky do.
Everytime I go to a salon, even a very expensive one, my highlights are too noticeable and turn orangey even with violet shampoo. This cheap little kit is ironically the only golden brown I’ve ever achieved and no toner needed.
Tips:
-Open powder and mix in a well-ventilated area and wear a mask
-If you pull too much hair through the holes, you can just sneak the little tool underneath the cap and slide it- the hair will slide out and you can start again
-Keep a close eye on how it’s developing to get the right shade
-Pulling less hair through but using more holes gives an expensive, subtle look and avoid thick streaks
– Make sure you coat the ends well and don’t pile it onto the cap or else you’ll have more noticeable root areas
-Get a friend to help with the back!
Love this so much.
tautWildfowl4
I have used this for years with great results however the last few times I’ve noticed it doesn’t lighten like it used to. I now have to leave it on close to one hour to get the same results as when I use to leave in on for thirty five minutes. It just doesn’t lift like it used to.
grumpyStork5
You know a product is good when it has 4.3 on even makeupalley the harshest critics on the internet for beauty… (hey we speak the truth!)
This really is great! I’m a Cosmo student so I’m broke and can’t afford a salon visit (ironic) and I do my own hair. But foiling or balayage on your self is dang near impossible in the back. I gave up trying but really wanted some dimension and this seemed easier. I split the powder in half and I used the 20v for my mids and a 10v for my ends. If you have some damage I highly recommend doing this. It saved me from breakage. I really could have used this with any bleach and developer so mostly I wanted the cap. But if you don’t have easy access to good bleach then this is perfect. I forgot to use the overcap because I’m dumb and left it on for 45 min. It did dry out and left me a little brassy which was totally my fault and not the kit (use the overcap!!) I toned that out and now I really like it. I used the big hook and every other hole except the front where I used every hole. There were some places I didn’t put any highlights if you know anything about placement and where to leave hair darker like right behind the ears and the nape or it’ll look too ombré and not balayage. I didn’t bring the bleach up to my roots except the very front for a more modern look and I’m so surprised how much I like it. It really looks blended and not at all splotchy. Sooo much easier than foils on yourself. I wouldn’t use it on a client just because they pay for the experience but I think it honestly would work great on a client who wanted subtle results!
People giving it low stars because they used it wrong should be removed. The cap is what makes this work. If you don’t want highlights up to your roots don’t bring it up that far. Hand painting with this kit is a bad idea. This isn’t a clay lightener so your likely to have splotchy results, it’ll help, but it’ll fail that out if you don’t stop right off. After reviewing what I do now that I think of them for some common use, it comes out sloppy, goes back in the bottle and then leaves a funky residue. But I did it 5 points worse than it was for what it was – poor quality color and because this purplish finish felt flush so I trusted the other review that I spoke with.
Keep rocking these guys and ask them about this! They would put down their samples. If you have the time, don’t toss them around and finish them off with that constant ball of clayy paste.
gleefulCoconut0
Revlon Frost & Glow, oh how I love thee.
This is an underrated drug store gem that I’ve used for ages and am never disappointed, especially compared to professional highlights.
I use Honey for my very dark brown hair and it’s the perfect subtle golden brown. The picture on the box is very deceiving, as you can make it as drastic or subtle as you like and my hair does NOT look like the model’s streaky do.
Everytime I go to a salon, even a very expensive one, my highlights are too noticeable and turn orangey even with violet shampoo. This cheap little kit is ironically the only golden brown I’ve ever achieved and no toner needed.
Tips:
-Open powder and mix in a well-ventilated area and wear a mask
-If you pull too much hair through the holes, you can just sneak the little tool underneath the cap and slide it- the hair will slide out and you can start again
-Keep a close eye on how it’s developing to get the right shade
-Pulling less hair through but using more holes gives an expensive, subtle look and avoid thick streaks
– Make sure you coat the ends well and don’t pile it onto the cap or else you’ll have more noticeable root areas
-Get a friend to help with the back!
Love this so much.
insecureSeahorse0
I have used this for years with great results however the last few times I’ve noticed it doesn’t lighten like it used to. I now have to leave it on close to one hour to get the same results as when I use to leave in on for thirty five minutes. It just doesn’t lift like it used to.
peskyDinosaur4
You know a product is good when it has 4.3 on even makeupalley the harshest critics on the internet for beauty… (hey we speak the truth!)
This really is great! I’m a Cosmo student so I’m broke and can’t afford a salon visit (ironic) and I do my own hair. But foiling or balayage on your self is dang near impossible in the back. I gave up trying but really wanted some dimension and this seemed easier. I split the powder in half and I used the 20v for my mids and a 10v for my ends. If you have some damage I highly recommend doing this. It saved me from breakage. I really could have used this with any bleach and developer so mostly I wanted the cap. But if you don’t have easy access to good bleach then this is perfect. I forgot to use the overcap because I’m dumb and left it on for 45 min. It did dry out and left me a little brassy which was totally my fault and not the kit (use the overcap!!) I toned that out and now I really like it. I used the big hook and every other hole except the front where I used every hole. There were some places I didn’t put any highlights if you know anything about placement and where to leave hair darker like right behind the ears and the nape or it’ll look too ombré and not balayage. I didn’t bring the bleach up to my roots except the very front for a more modern look and I’m so surprised how much I like it. It really looks blended and not at all splotchy. Sooo much easier than foils on yourself. I wouldn’t use it on a client just because they pay for the experience but I think it honestly would work great on a client who wanted subtle results!
People giving it low stars because they used it wrong should be removed. The cap is what makes this work. If you don’t want highlights up to your roots don’t bring it up that far. Hand painting with this kit is a bad idea. This isn’t a clay lightener so your likely to have splotchy results
emptyHeron6
I’m not good with hair, so doing my own highlights made me nervous. But I was more nervous about spending $200+ to get balayage done again at the salon. This kit had really good reviews on Amazon, which gave me enough courage to try it. I’m so glad I did! It’s currently $7 at Target full price and I can’t believe what a good value this is. Comes with everything you need. I used the cap, which is a bit cumbersome. It’s hard to get the hair hooked through the cap on the back of your head. I used mirrors. It was slow, but not painful. Took me about 30 minutes to pull all the hair I wanted to be highlighted through the cap. Then I mixed the color and glopped it on with my hands. I thought maybe I had messed up because I didn’t feel I had pulled much hair through, but I went for it anyway. I have tons of fine, previously colored hair. I left it on for 30 minutes and then washed it out. It looks very natural and I didn’t have to go back in for touchups. Next time I use this, I will also buy a toner as it is a little more brassy than I like. Some other reviewers mentioned buying a metal hook from Sally’s instead of using the plastic one it comes with. Others just use their gloved hands to make their own balayage. I’m not sure which one I’ll do next, but I will absolutely use this again. I can’t believe my hair looks this good and I did it myself!
kindMare2
I’ve tried this color about a year an half ago. As many others I was sick of paying 500$+ for highlights at a high end salon without getting exactly what I wanted. I thought I could do it myself. So wrong!
I’m used to foil highlights, but I always wanted to have a bit less of them so I’ve tried to do balayage highlights by myself using Frost and Glow.
1 – the cap will never give a natural or high end looking highlights so I tossed it away directly;
2 – balayage (free painted) highlights will always be thicker than foil ones (I haven’t thought of that). Coming from the roots with the darker base they look very old school;
3 – at the hairdresser I never see my new color before it’s toned, Revlon Frost and Glow came to me as a shock. It wasn’t bad, just slightly brassy, way better than any of my hair coloring experiments from 15 years ago, but still…
4 – I used honey shade, it lighten my natural medium brown hair only up to two shades, but it didn’t damage it;
5 – it is serious pain in the a** to do a free painted highlights by yourself, the result will never look professional. It will look cute on young girls, but not on people who are older than 25.
I think it’s an awesome stuff for a young girl who has tight budget but wants to have some cute highlighted strands in her hair. Fun to do with a girlfriend. I wish there was something like this the time when I was 15-20.
But now for me it’s a pass. I will never again attempt to highlight my hair at home.
wearyWhiting2
This is a great diy highlight kit. I have medium brown hair with some tiny highlights. I bought the honey shade. I figured this would be good to add some more around my face and a few on the sides and back. I used the cap and poked all the circled holes, and used the larger side on the hook and began pulling strands towards the front. I used most of the circled holes on the face framing section and then I switched to the smaller side of the hook and did a few around the top sides and back. Once I had all the hair out I wanted to highlight I pulled the hair that was not to be highlited in a low pony. I just started slapping the bleach mixture on and then I put on a plastic cap and set a timer for an hour. Since my hair took forever to highlight the last time I highlighted my hair, which was done by a pro, I assumed it would also take about an hour with this stuff. I checked the color every ten minutes or so, hoping I would eventually see the inside of a banana peel color I wanted. After an hour they still looked orange so I was thinking this was gonna look so bad. Not wanting to risk leaving the bleach on any longer I went ahead and washed it off. After I dryed it my hair look AMAZING! The highlights are the perfect shade of golden blonde which I could easily tone but I don’t think I will have to. I was completely expecting a crap outcome, but nope, it looked like I spent a pretty penny to have it done professionally. For a $6 highlight kit from walmart I am very impressed! I will definitely repurchase and do a few more without the cap so I don’t over highlight the already blonde bits.
empathicStork3
I’m in love with my new hair! Better than salon highlights for sure. I have dark brown hair that is box dyed a medium brown. I tried using an at-home kit by Clairol last summer. They turned out okay. I was thinking about getting them done at a salon this summer but wanted to try this kit because of all the YT videos. I wish I tried this first! It’s really the best and the results are amazing! I bought the honey/caramel kit. Kept my part how I usually do (to the right side). I used the cap. I left it on for about 50 minutes. I was really nervous and just hoped it wouldn’t look terrible. It turned pale yellow. I was scared but hopeful from all the tutorials. I rinsed, washed, conditioned (I bought extra purple conditioner from Sally’s) since my hair is really long and dry. The results are really amazing! It took a long time to pull my hair through like everyone warned. I used the smaller hook and did every hole with a circle around it in the face framing and the crown area. I love it! The only other time my hair looked this amazing with highlights was when I got it done in a salon near my college campus in Los Angeles. Ever since then and moving to Boston, they just turned me blonde and it never ended up looking like highlights. I pulled thin strands with the smaller hook. Omg! It looks sooooooo amazing!!!!
pleasedOryx6
I don’t know why this says the kit is discontinued because I can find it pretty much anywhere. But I hope it’s not! This is by far the best at home highlights in my opinion. I always get beautiful butter blonde highlights when using this. My only complaint is the cap. But I usually purchase another cap from sallys
debonairCordial6
I tried this for the firs time today and I loved it. I left it in for about 45 min and checked it every 10 min. I only washed it off because I felt like it was getting to light it looked very yellow and I was worried that it would look bad. I washed it off and wow I had a very light brown hair color not its exactly what i want a blond/brown hair color with highlights. THUMBS UP!
vengefulOtter7
So I bought the Clairol Nice’n easy frost & tip kit for light to dark brown hair because they were sold out of the revlon Frost & glow kit. I never really tried anything other than the revlon kit so I thought I`d give Clairol a shot. Nope. No good. I will only use Revlon`s frost and glow from now on. The hook it comes with has two different sized hooks – one for fine highlights and the other for thicker highlights. But even the thicker hook picks up nice tiny pieces which makes the highlights much more natural where Clairol`s hook is huge and picks up good ol’ chunky-skunky pieces (I actually cut it in half to use it). Revlon`s cap seems to be easier to punch through as well. The colour turns out great and it`s just all around better than Clairol. No wonder it was sold out.